Importing a Private CA Certificate
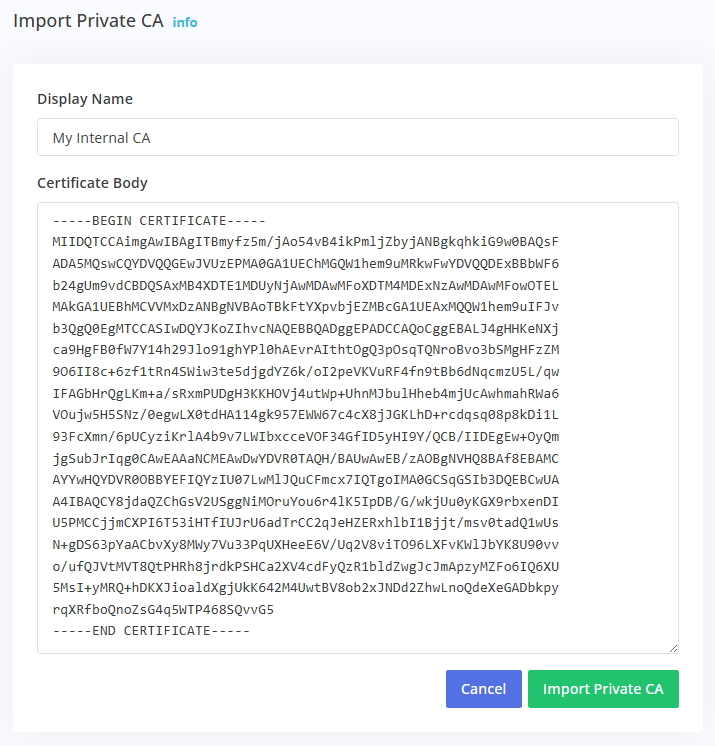
Importing a Private CA certificate allows you to monitor services using certificates signed by custom or internal certificate authorities. Navigate to Certificate Monitoring ➡️ Manage ➡️ Private CAs and click the Import Private CA button.
Configuration Fields
The Display Name field assigns a descriptive name to the CA certificate. Use names that identify the certificate's purpose or origin, such as "Internal Root CA", "Development CA", "Company PKI Root", or "Amazon Root CA 1".
The Certificate Body field accepts the PEM-encoded public CA certificate. Paste the complete certificate including the -----BEGIN CERTIFICATE----- and -----END CERTIFICATE----- markers. The certificate must be in PEM format (Base64 encoded text).
Obtaining Your CA Certificate
For internal or self-signed CAs, export the CA certificate from your certificate management system or PKI infrastructure. Most systems provide an option to export the root or intermediate CA certificate in PEM format.
For specific certificate providers, download the CA certificate from the provider's documentation or support site. Many providers publish their root and intermediate CA certificates for download.
If you have a certificate file in DER format (binary), convert it to PEM format using OpenSSL:
openssl x509 -inform der -in certificate.cer -out certificate.pem
Certificate Format Example
A valid PEM-encoded CA certificate looks like this:
-----BEGIN CERTIFICATE-----
MIIDdzCCAl+gAwIBAgIEAgAAuTANBgkqhkiG9w0BAQUFADBaMQswCQYDVQQGEwJJ
RTESMBAGA1UEChMJQmFsdGltb3JlMRMwEQYDVQQLEwpDeWJlclRydXN0MSIwIAYD
VQQDExlCYWx0aW1vcmUgQ3liZXJUcnVzdCBSb290MB4XDTAwMDUxMjE4NDYwMFoX
...
-----END CERTIFICATE-----
Important Considerations
Only upload the public CA certificate. Never upload or paste private keys. The system only needs the public certificate to validate certificate chains.
The uploaded CA certificate will be used to validate certificates during monitoring checks. Ensure the CA certificate you upload is the same one that signed the certificates on the services you're monitoring.
After Importing
Once imported, the Private CA appears in your Private CAs list showing its display name, status (Active), days until expiration, and SHA-256 fingerprint. The fingerprint can be used to verify you've uploaded the correct certificate.
To use the Private CA for monitoring, navigate to Certificate Monitoring ➡️ Manage ➡️ Profiles and either create a new profile or edit an existing one. Enable Use Private CA(s) for Verification and select the imported CA. All monitors using that profile will then validate against your Private CA.
Managing Expired CAs
Private CA certificates have expiration dates just like server certificates. Monitor the expiration dates in your Private CAs list and replace CA certificates before they expire. An expired CA certificate will cause validation failures on all monitors using that CA.
To replace an expired CA, import the new CA certificate with a different display name, update your profiles to use the new CA, then delete the expired CA once all profiles have been updated.